A Forest for the Trees

Fifteen years ago, traveling with an underwater camera meant carrying a dedicated camera system and housing along with all my scuba gear—two full suitcases and a carry-on bag. These days, the cost and aggravation of transporting that much equipment can pretty much ruin the idea of traveling at all.

Last year, I bought a DIVEVOLK SeaTouch 4 Max housing for my iPhone 15 Pro Max, along with a red filter and a few other little doohickeys I thought I might need. Compared with the cost of housing any of my APS-C, full-frame, or medium-format cameras, it was ridiculously inexpensive. So inexpensive that I reread the reviews to make sure the housing wasn’t made from Swiss cheese or cardboard.

Before 2023, I hadn’t been diving in eleven years. My dive gear—and I—were old, crusty, and out of practice. But getting back into the water with a camera was life-affirming and immediately comfortable, like getting back on a bicycle. By streamlining both my camera system and dive gear, I was also able to reduce the cost and stress of traveling to a single suitcase.

There was one problem.

It occurred to me that if the housing failed at depth, the phone inside it—my lifeline to the digital world and the place where I stored nearly everything I needed for the trip—would probably flood. Getting home could become interesting in all the wrong ways.

So I went to Back Market and bought a heavily used iPhone 14 Pro for about half the price of a new phone. That would become my underwater camera. If it didn’t work, I could still use the iPhone 15 and hope for the best.

Since buying the setup, I have photographed dives in the Florida caverns and on the reefs of Bonaire and Dominica, with no complaints whatsoever.

When I made this photograph, there was a fair amount of sargassum in the water, and visibility was cloudy. The original image was drained of color and predominantly blue. It was pleasing, but not quite the photograph I wanted.

The pilings already felt less like a human structure than an underwater forest, with the divers drifting between them like unfamiliar wildlife. I converted the photograph to black and white, then added a little clarity and contrast in Lightroom. The monochrome treatment separated the light, sediment, divers, and encrusted columns more clearly while preserving the murky atmosphere that first attracted me.

Although I had brought both a video light and a red filter, I found myself loving the black-and-white renderings from this location. Removing the color seemed to make the underwater world stranger, quieter, and somehow more timeless.

All in all, the DIVEVOLK housing—and my decision to trust an Apple phone as an underwater camera—has been one of my best photographic purchases in recent years. I love the results I am getting, and DIVEVOLK is firmly on my radar as I continue rebuilding my underwater photography system.
We Could All Use a Little Light

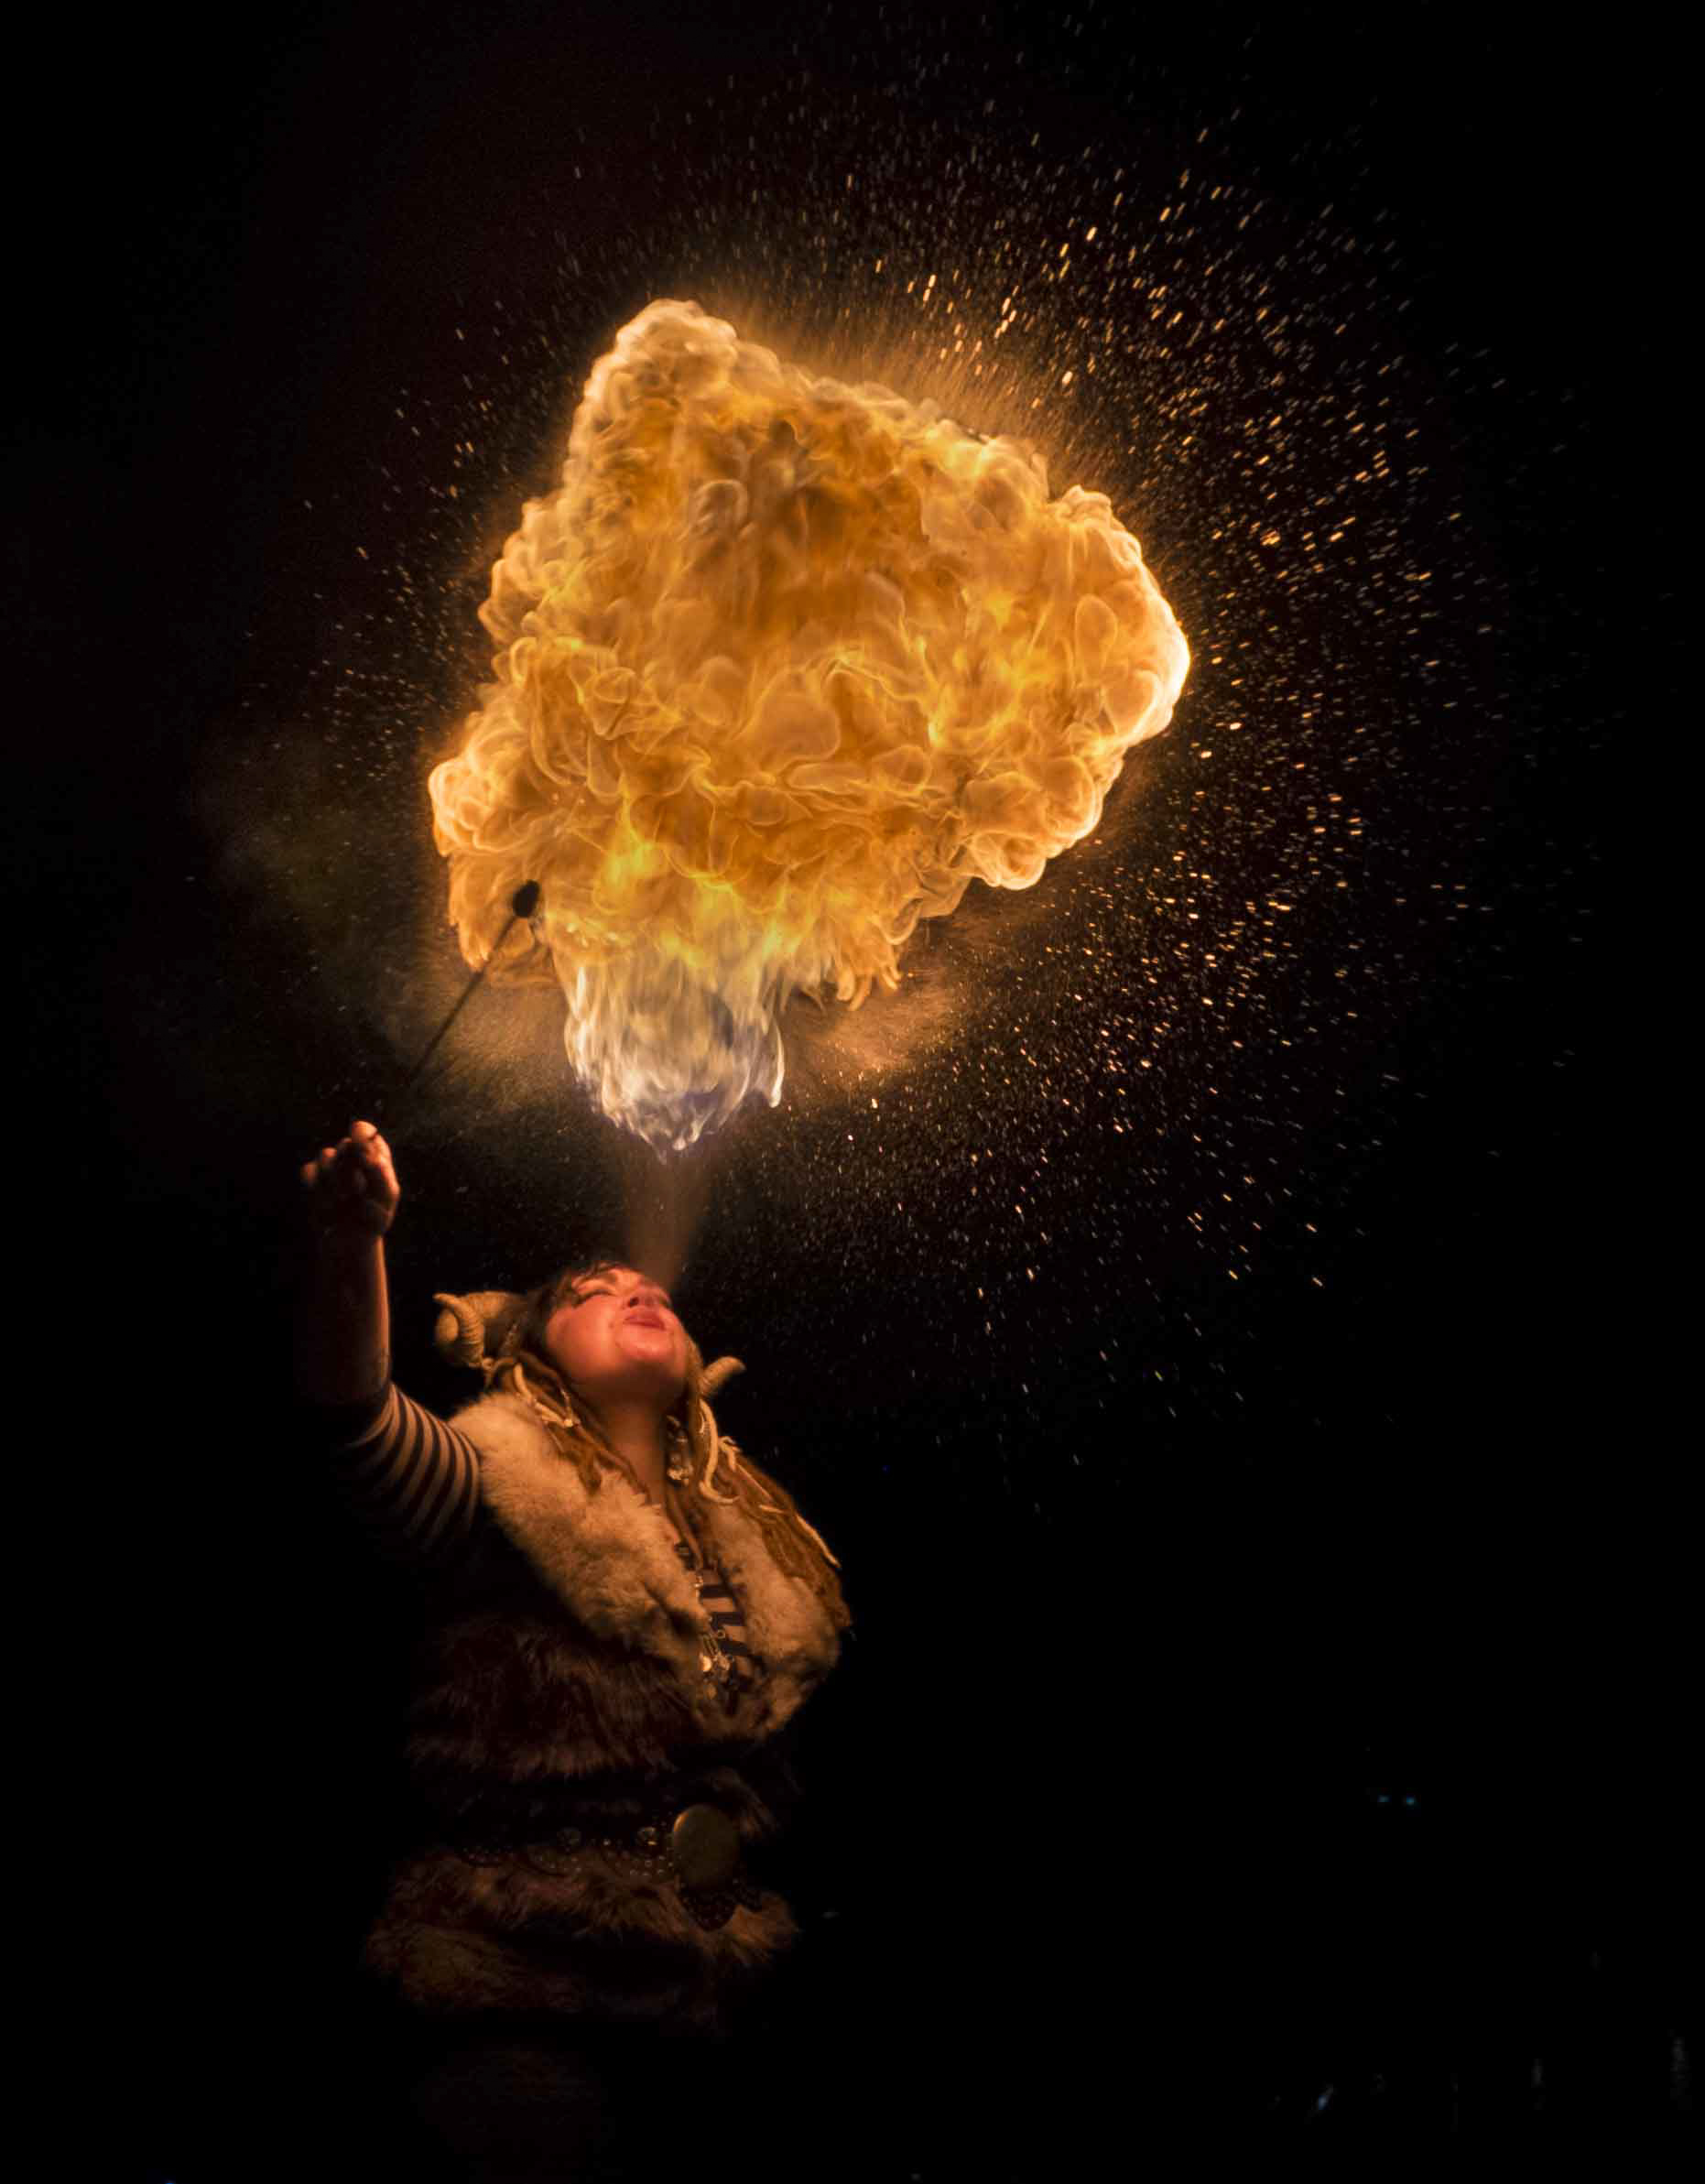
Here’s a dispatch from the Don’t Try This at Home Department: I’m a sucker for people in wild costumes doing crazy things. Hence, this photo. This is Michelle Yeager, and awesome fire breather – performing at a Krampuslauf event in North Philadelphia, a few years back. It is one of my favorites because of the work it took getting the right balance and detail of the fire without it being too bright and therefore blowing out the details. It started as big white blob of fire, but with the magic of lightroom and RAW file, rather than a JPG, I was able to coax detail out of flames that look, to me, like an angry universe, or maybe the interior of a sunspot. Yes, I like to shoot film, but there are certain things that are best done with digital, and shooting fire breathers is one of them. And also – use a long lens. No sense singing your eyebrows, even if it is for a good photo.

The Russian Insanity Lens: Monkeys Made This

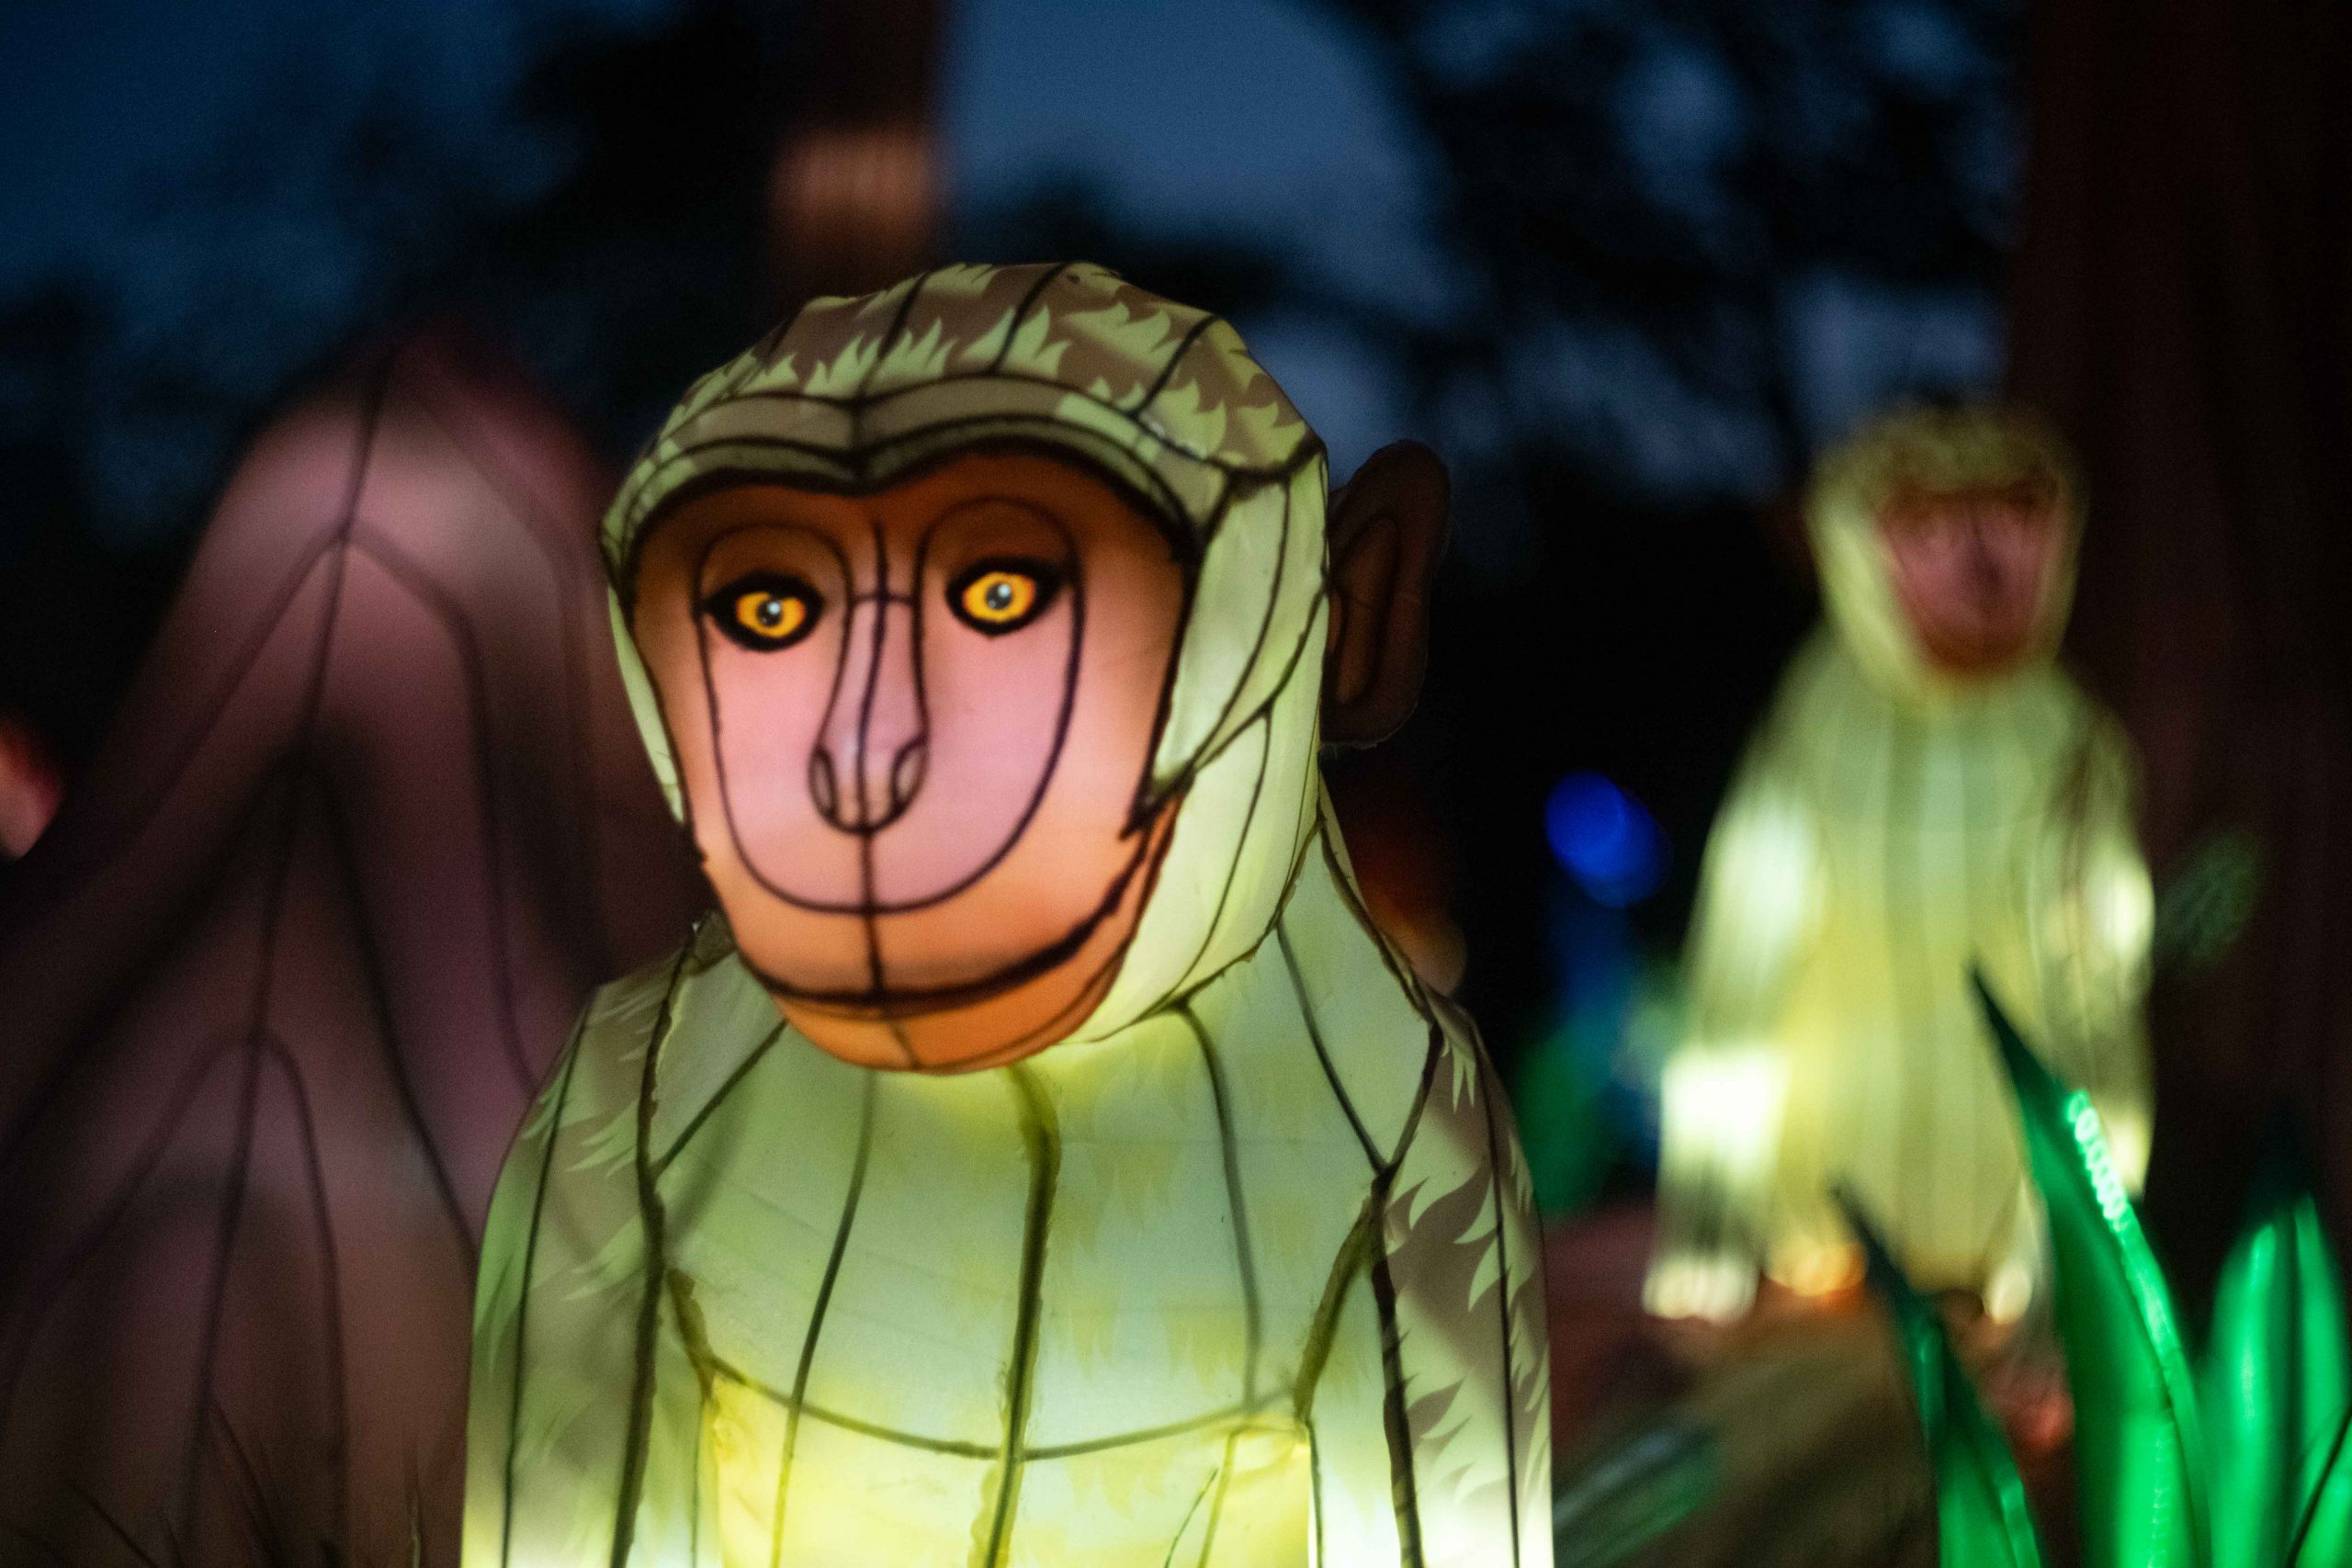
Okay, I admit it. I’m a total sucker for a nifty fifty. Subject separation with a wide, fast aperture makes me shiver. Dreamy highlights that look like fireflies in the background jiggle my puddin’ – so a couple years back, I decided to buy a Zenit Helios 58mm f/2 lens. I had seen them discussed on-line from time to time and some of the images from these lenses looked amazing. Most specifically, it was the out of focus areas that made me take notice. It seemed like the background swam with constellations of delicious, blurry boceh. I had to have one to see if I could warp the world with it.

The Helios Zenit was the perfect lens for its time and place. It was created in post-war Soviet Russia where crystal clarity was the last thing The Party wanted to give to the people. Instead they warped everything with propaganda, lies and disinformation. Where else would you expect to find a lens that will show you – not what was in front of you – but what the lens wanted you see? It was insidious, but in an artistic way, so again, I had to have one. And I named it my Russian Insanity Lens.

One of the cool things about these lenses is that they each had their own character, so the web posts said. I purchased mine online and found just what I was looking for. Since Soviet manufacturing standards in the 1950s were not exactly up to Japanese or West German standards, actually, I’m not sure if they were even up to Kindergarten Arts and Crafts class standards, I looked for a ‘Used Imperfect’ grade lens. Unfortunately that search didn’t bring me much on Ebay, but I did find a sketchy guy in the Ukraine who – after a few weeks of wondering if I had been scammed – sent me a lens that looked like it had been taken apart by the monkeys in the photo and put together backwards – the aperture ring actually did work backwards to the markings. But the package wasn’t even soggy from the transAtlantic crossing, so I figured it was a win.

With a the right adapter, I was able to mount the Helios on my beloved Nikon Z7ii, which is kind of like using hamster on a treadmill to power a space shuttle, but the focus ring still worked, and when I pushed the shutter button, the lens went click and a photo appeared on the display screen. So then, it was time to experiment. It seems multiple light points or spread out backgrounds are best for these lenses and the narrow field of vision make for some nice subject separations in strange environments. And this isn’t my only insanity lens. I also own a 7 Artisans 35mm f/0.95 lens – dubbed the Chinese Insanity Lens – that I use on Fuji X bodies for the same purpose as the Russian – to play with reality.

Look, if reality is going to be such a pain in the ass every day, why shouldn’t we mess with it?
Thanks for looking.

Kingston, on the Hudson

Sometimes life throws you fog. When that happens it’s best to get out your camera. For this image, I used the old, trustworthy Nikon N90, Kodak Portra 400 Film, Nikkor 35mm f/1.8 lens. The camera did a great job of metering a fairly tough image despite the fact that it is more than 30 years old. The colors came up great with the Kodak film. What amazing grain!

Foggy Landscape at Harriton House

The Nikon Z7ii is an astounding camera, and is probably the most capable camera body that I have ever used. It produces a 48MP image with image stabilization and very good low light capability. For this shot, I got up early on a foggy morning and ran out to a 18th century mansion, Harriton House, on Philadelphia’s Main Line. There wasn’t a whole lot of light when I shot this, but at 1/10 of a second at a f/14 aperture, I was able to get all of the detail that anyone could reasonably expect to get, plus that wonderful fall of created by the fog.

I used an old lens for this, the f-mount Nikkor VR 16-25 f/4G, and was very happy with the results. Converting to black and white was the best choice for this image.

Boost Drama with Rim Lighting

Rim Lighting creates drama in a photo – more so than with most lighting techniques – and in the right situation it can be just the creativity you need. This shot turned a photo a session from typical and blah into something that really pops.

To do rim lighting you really need off-camera lighting.

It’s The Dead of Winter and Even the Flowers are Blue

This photo uses a north-facing window for a flattering, diffuse light source, a wide aperture for a narrow, dramatic field of focus, and high ISO for a textured grainy effect.

Still, the photo wasn’t quite depressing enough to match the weather, so I used Lightroom sliders to increase the shadows and clarity.

Nighttime Street Photography


One of the greatest advantages of digital photography is that now you can photograph the night like no one ever could before.